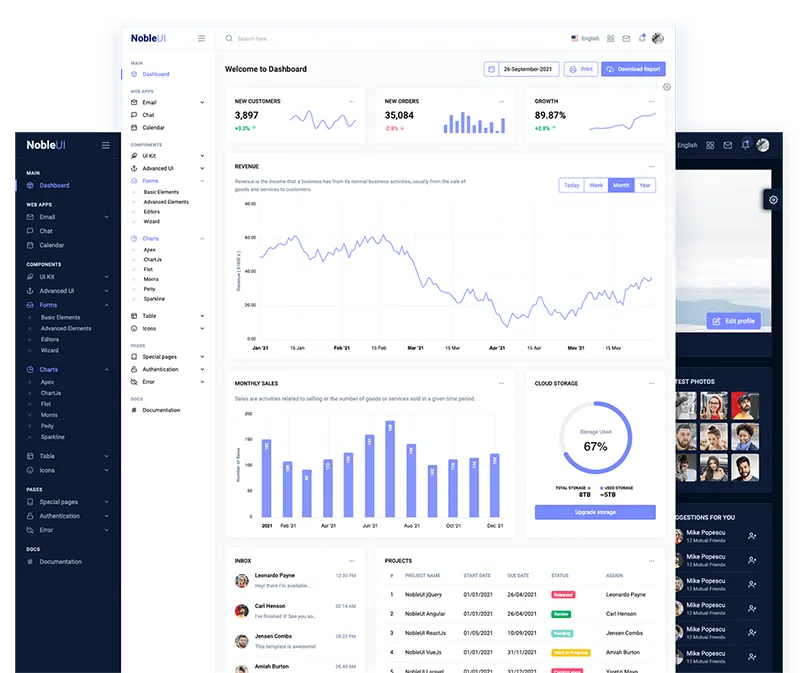
NobleUI - Laravel v 3.0.1
Laravel 12 Admin Dashboard Template.
A comprehensive and professional UI package featuring a wide range of components, forms, tables, charts, pages, and SVG icons — all fully customizable, responsive, and easy to integrate.


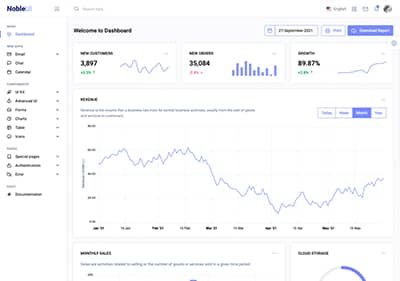
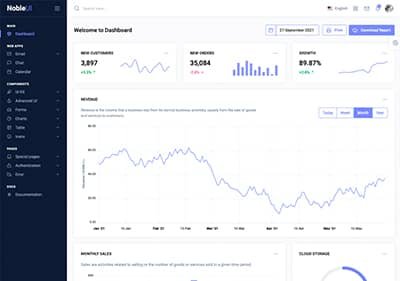
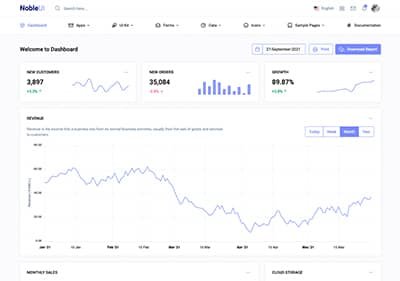
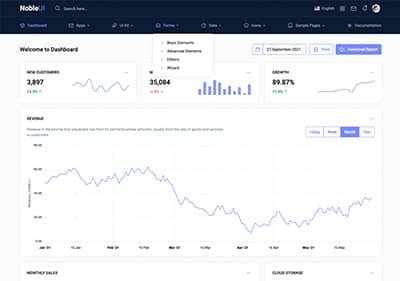
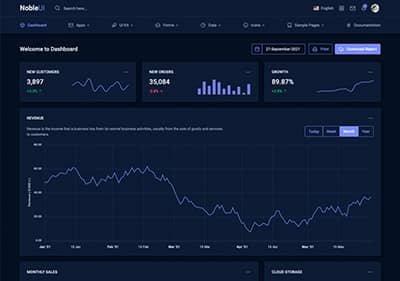
Creative Demos
Beautifully crafted demos. Try live preview or RTL version.

Why Choose NobleUI
A responsive admin template built for teams that want high-quality UI, clean code, and a smooth developer experience.
Clean Code
Thoughtfully structured, well-documented markup and components that are easy to extend, refactor, and keep consistent across your projects.
Responsive Layout
Layouts, components, and pages that adapt beautifully from mobile to large desktop screens with sensible defaults out of the box.
Amazing Support
Friendly, timely support from the team behind the template, ready to help you ship and maintain your product with confidence.
Impressive Design
Modern, polished UI that feels at home in production SaaS dashboards, admin panels, and internal tools.
Easy Customization
Utilities, components, and tokens that make it straightforward to tweak colors, spacing, typography, and layouts without fighting the system.
Free Updates
Ongoing improvements and refinements so your product stays up to date with the latest UI patterns and framework versions.
Licenses
Trusted by over 3500+ designers, developers and software companies
Questions about Envato licenses? See the Standard License and License FAQ.
Regular License
Use for a single end product where end users are not charged.
$24 / one time pay
Extended License
Use for a single end product where end users can be charged.
$299 / one time pay
Frequently Asked Questions
Common questions about licensing, usage, and what’s included. For anything else, feel free to reach out.
Do you charge for each upgrade?
Not at all. Once you purchase a license, you'll receive all future releases for free.
Do I need to purchase a license for each website?
Yes, you need to have a separate license for each end-products/website/client.
Can I White label / Customize your dashboard?
Yes, you can! Feel free to change the dashboard branding ex: Name, and Logo, and customize it as per your requirement. No need to provide any attribution to NobleUI.
What does "Use in Saas" refer to?
You can use our products to create an application where the end-user is charged with a monthly/annually subscription plan (SaaS – Software as a Service)
What is an "End Product"?
An End Product is the final application, website, or project you build using our template. It's what your users or clients will actually use.
What is regular license?
Regular license can be used for end products that do not charge users for access or service (access is free and there will be no monthly subscription fee).
Single regular license can be used for single end product and end product can be used by you or your client. If you want to sell end product to multiple clients then you will need to purchase separate license for each client. The same rule applies if you want to use the same end product on multiple domains (unique setup).
For more info on regular license you can check official description.
What is extended license?
Extended license can be used for end products (web service or SaaS) that charges users for access or service (eg: monthly subscription fee).
Single extended license can be used for single end product and end product can be used by you or your client. If you want to sell end product to multiple clients then you will need to purchase separate extended license for each client. The same rule applies if you want to use the same end product on multiple domains (unique setup).
For more info on extended licenses you can check official description.
Which license is applicable for SaaS application?
If you are charging your customer for using your SaaS based application you must buy an Extended License for each end product. If you aren't charging your customer then purchase Regular License for each end product.
Do you have more questions?
Related Products
More templates and versions you might like.
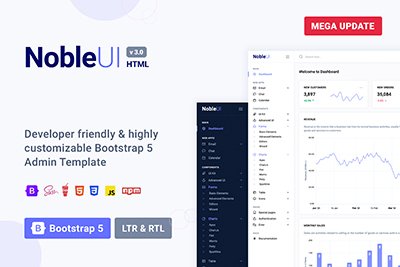
NobleUI - HTML
 +
+
 +
+
 +
+

HTML Bootstrap 5 Admin Dashboard Template.
$24
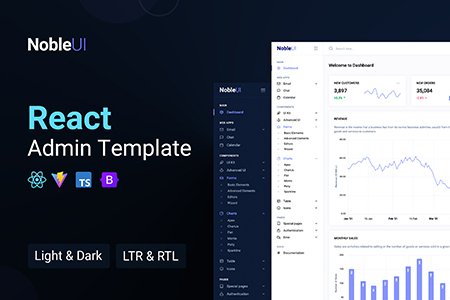
NobleUI - React
 +
+
 +
+
 +
+

React 19 Admin Dashboard Template.
$24
Next.js 16 Admin Dashboard Template.
$24
Angular 21 Admin Dashboard Template.
$24
Contact Us
Have a question, hit a snag, or want advice on getting the most from your template? We're here for you. Reach out anytime—our team responds quickly and is happy to help you succeed.